

How to Temper Couverture Chocolate?
13-06-2025

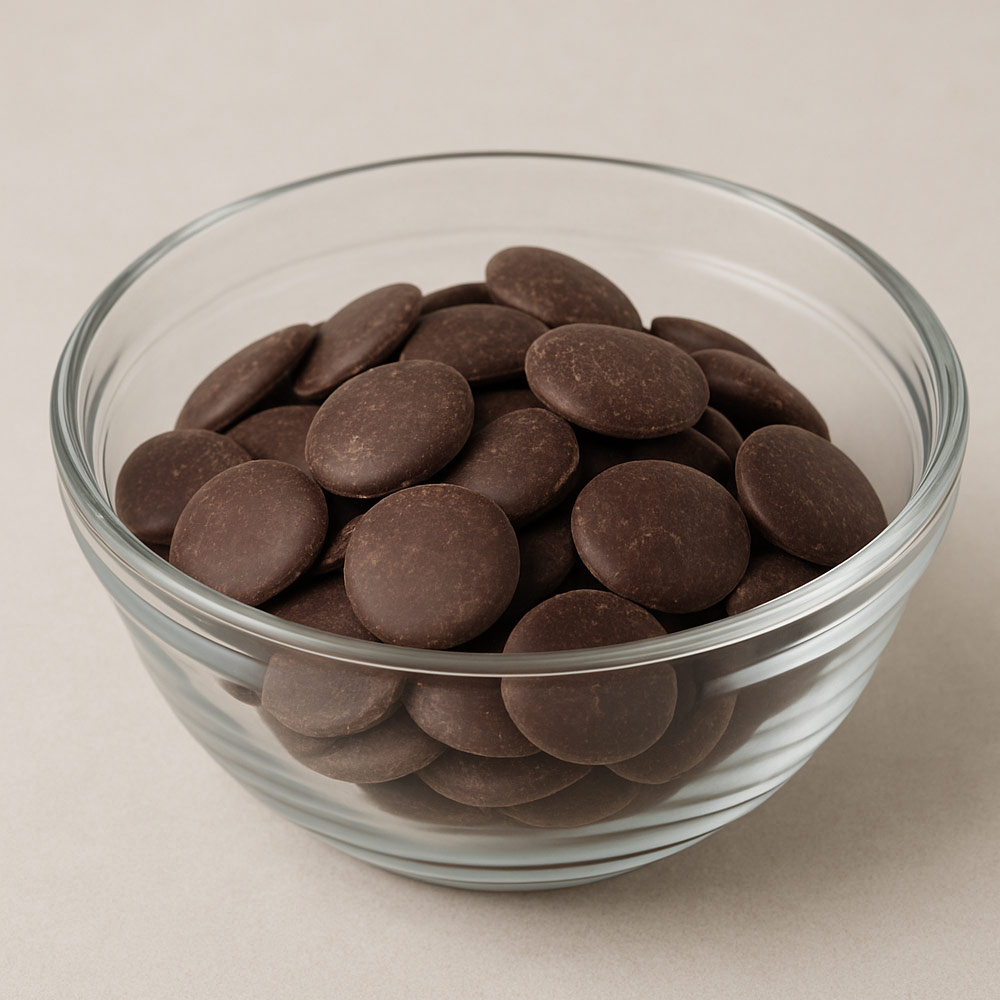
It begins simply. A bowl of dark, glossy couverture chocolate sits over a gentle heat. You’re ready to mold, dip, or drizzle. But as the chocolate cools, it turns dull. Streaks appear. The snap is missing. This common experience is why every serious baker needs to understand how to temper couverture chocolate.
Tempering isn’t just a fancy chef trick. It’s a precise method that gives premium chocolate a glossy, firm, and professional finish. Without tempering, couverture chocolate won’t set correctly. You might end up with bloom, crumbles, or a chalky bite. With it, you achieve the shiny coat, clean break, and melt-in-your-mouth texture that defines top-tier confections.
This blog will walk you through every step of the tempering journey. You’ll understand the science behind cocoa butter crystals, set up the ideal workspace, and learn three trusted methods for tempering — seeding, tabling, and microwave-based. Whether you’re crafting bonbons or coating truffles, mastering tempering will elevate your chocolate work from good to exceptional.
So get your spatula ready, check your thermometer, and let’s explore the art and science of tempering couverture chocolate with confidence, clarity, and a touch of craft.
The Science of Tempering: Crystals and Chemistry
Chocolate may appear simple on the surface, but inside every bar or bonbon is a complex structure shaped by fat molecules. This structure is known as cocoa butter polymorphism, a term that refers to how cocoa butter solidifies into different crystal forms during cooling. If you want to temper chocolate with consistent success, understanding this structure is essential.
Cocoa butter can form six unique types of crystals. Each form has different melting points, stability, and visual results. Only one of them gives chocolate the glossy surface, satisfying snap, and smooth mouthfeel that professional chocolatiers aim for. That crystal is known as Form V, or the beta crystal.
The entire process of tempering revolves around melting all unstable crystals and encouraging only Form V to form during the cooling stage. When this happens, your chocolate will harden with a perfect finish. If another form dominates, your chocolate may turn dull, crumbly, or streaked with fat bloom.
Below is a reference table that shows the six crystal forms of cocoa butter and their characteristics:
Polymorphism of Cocoa Butter: Reference Table
| Crystal Form | Melting Point (°C) | Stability | Appearance Result |
|---|---|---|---|
| I | 17°C | Very Low | Soft, crumbly texture |
| II | 21°C | Low | Dull, melts too easily |
| III | 26°C | Moderate | Grainy, poor structure |
| IV | 28°C | Unstable | Slight gloss, soft snap |
| V (Beta) | 34°C | High | Glossy, firm, clean break |
| VI | 36°C | Very High | Overly hard, forms slowly |
These forms are invisible to the eye, but their impact is seen in the results. Whether you use the seeding method, marble tabling, or microwave tempering, the goal is the same. Melt all the crystals, then create conditions where only Form V (Beta) reforms.
When studying how to temper couverture chocolate, this scientific foundation becomes your guide. Crystal structure is not just theory. It is the key to beautiful, stable, and delicious chocolate.
What Happens If You Don’t Temper Chocolate?
Tempering may seem like an extra step, but skipping it can lead to a variety of problems that affect your chocolate’s quality, appearance, and performance. Whether you are working with bars, bonbons, or chocolate decorations, the consequences of untempered chocolate become visible almost immediately.
Here are some of the most common issues that occur when chocolate is not properly tempered:
- Fat bloom appears on the surface : Grayish streaks or spots form as cocoa butter separates and rises to the top, giving the chocolate a dull, unappealing look.
- Chocolate loses its glossy finish : Untempered chocolate looks cloudy or matte rather than shiny, reducing its visual appeal in professional or gift-quality products.
- Soft texture and weak structure : The chocolate may feel soft, crumbly, or grainy instead of having a clean snap and firm bite.
- Poor release from molds : Because untempered chocolate does not contract evenly, it tends to stick to molds and break during unmolding.
- Sticky surface that does not set well : The chocolate may remain tacky, making it hard to handle or package, especially in humid environments.
- Shortened shelf life : Without stable crystals, the chocolate continues to degrade over time, affecting both appearance and texture.
When learning how to temper couverture chocolate, understanding what happens without tempering is just as important as knowing the method itself. These visual and textural problems make it clear why professional chocolatiers never skip this critical step. A properly tempered batch delivers not only a beautiful result but also the stability and structure needed for high-quality confections.
Setting the Stage: Tools, Ingredients and Room Conditions
Before you begin tempering, it is important to prepare your workspace with the right tools, ingredients, and conditions. Success with chocolate depends as much on preparation as on technique. Creating an environment that supports stable temperature and precision is the first step toward achieving a perfect temper.
Professional chocolatiers work in kitchens where temperature and humidity are carefully managed. If you are working at home, you can still create a similar setup by keeping the room air conditioned and free from moisture. The ideal room temperature for tempering chocolate is between 20 to 22 degrees Celsius. This helps the chocolate cool and crystallize at the right pace without interference from external heat or humidity.
Here is what you need to have ready before you start:
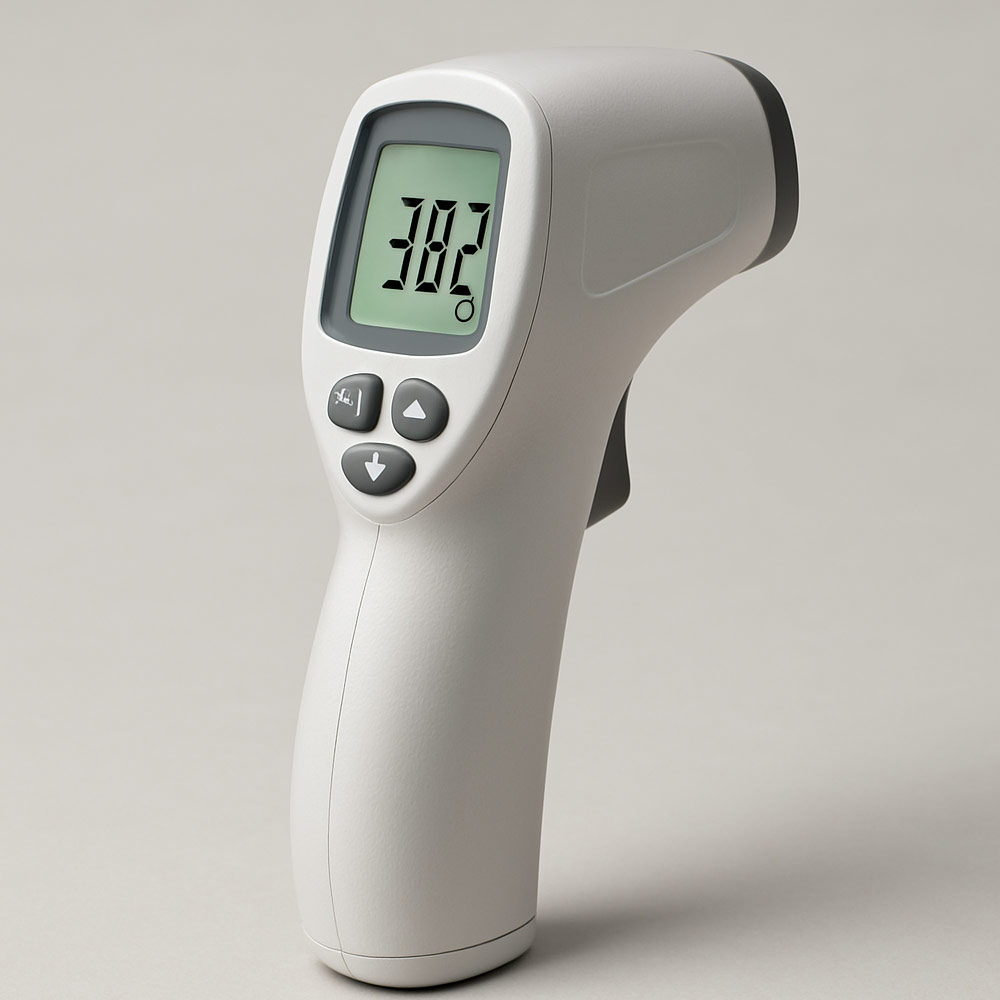
A Digital or Infrared Thermometer
A digital or infrared thermometer is essential for monitoring chocolate temperatures accurately during melting and cooling, helping ensure precise tempering and consistent professional results.
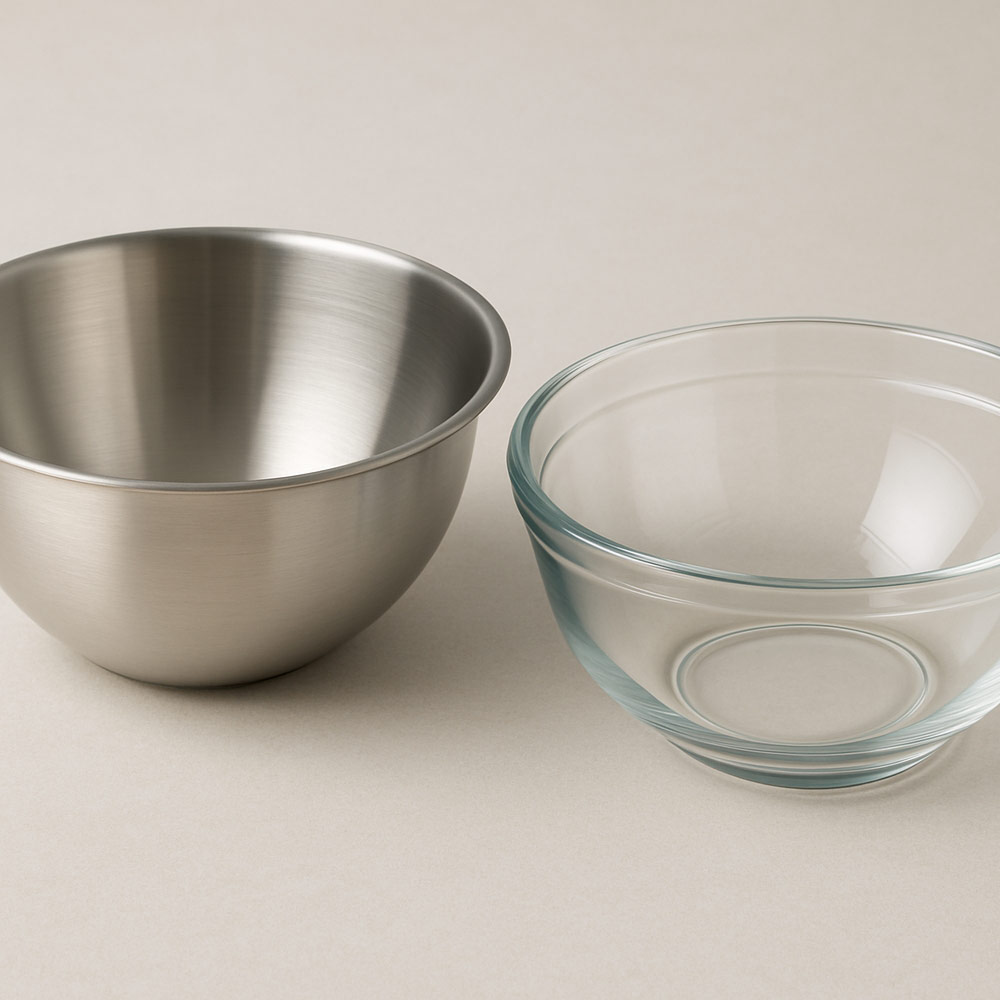
A Heatproof Mixing Bowl
A heatproof mixing bowl made of stainless steel or glass is ideal for melting couverture chocolate safely and evenly, whether over simmering water or in the microwave.
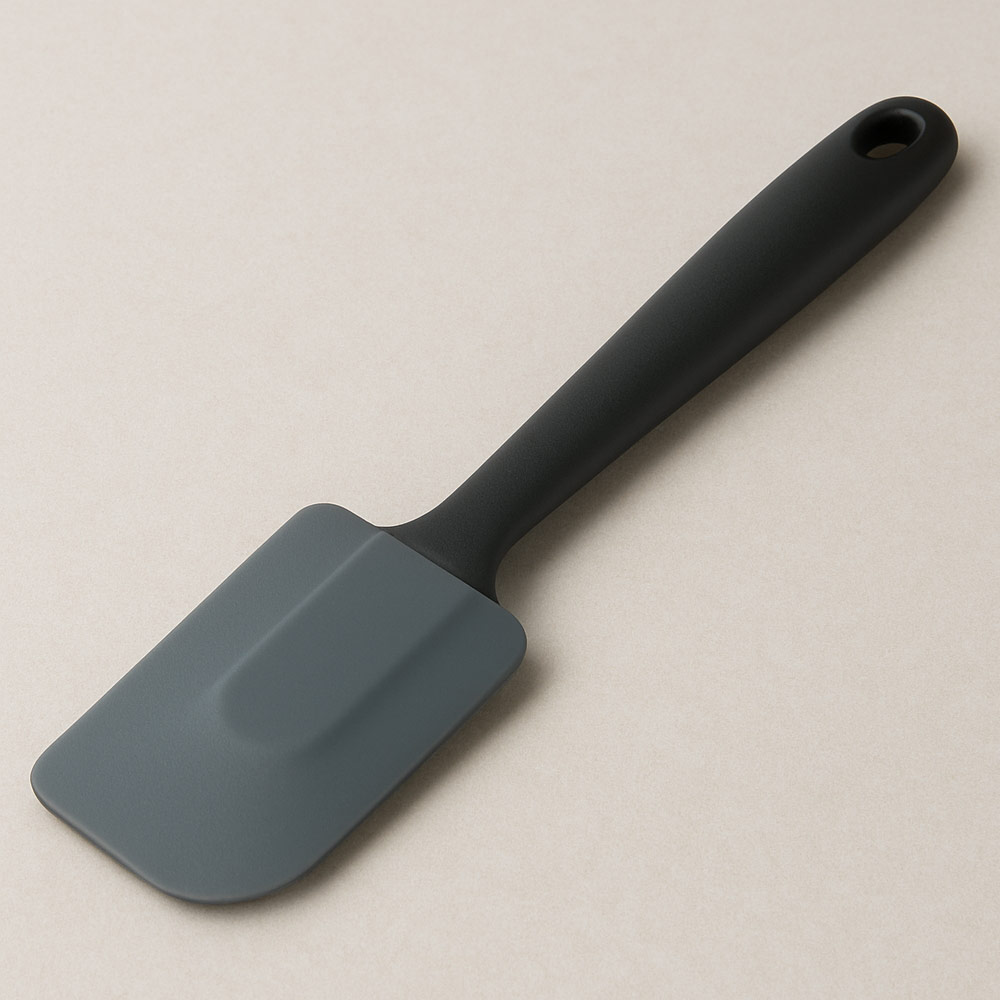
A Silicone or Rubber Spatula
A silicone or rubber spatula is perfect for stirring and scraping chocolate smoothly, ensuring even melting without introducing air bubbles or disrupting the texture.
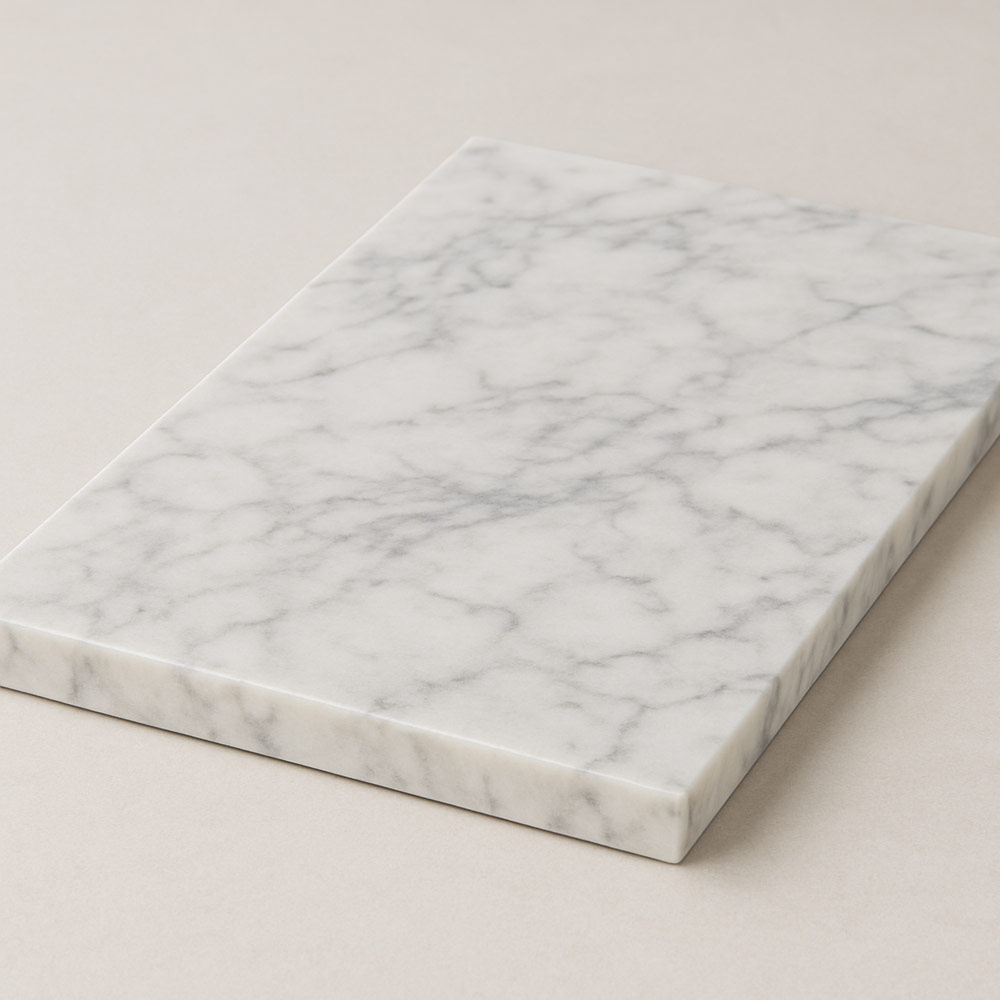
A Marble Slab or Granite Surface (Optional)
A marble or granite surface is especially helpful for the tabling method, providing a cool, stable area for crystallizing chocolate, though not necessary for other tempering techniques.
High-Quality Couverture Chocolate
Always choose couverture chocolate containing at least 30 percent cocoa butter. It melts and tempers properly, unlike compound chocolate which requires no tempering and behaves differently.
Clean, Dry Workspace
Ensure your entire workspace is free from moisture, as even a small drop of water can cause chocolate to seize. Always dry all tools and surfaces completely.
When you know how to temper couverture chocolate, you also learn to respect the environment in which chocolate behaves best. A controlled setup with the right tools can make even the most challenging technique feel approachable.

The Seeding Method: Calm Control
Among all tempering techniques, the seeding method is one of the easiest and most beginner-friendly. It gives you control without requiring a marble slab or elaborate setup. All you need is patience, attention to temperature, and a good supply of well-tempered couverture chocolate.
In this method, you start by melting a portion of your chocolate to eliminate all existing crystal structures. Once fully melted and slightly cooled, you gradually add small pieces of unmelted, tempered chocolate. These added pieces act as a “seed,” helping new stable beta crystals form as the mixture cools down. This process encourages your chocolate to solidify with a glossy finish and a firm snap.
Follow these steps to temper using the seeding method:
- Step 1: Melt two-thirds of your chocolate - Gently melt it using a double boiler or microwave in short bursts. Stir frequently and ensure it reaches the melt temperature specific to your chocolate type.
- Step 2: Cool slightly, then add the remaining chocolate - Remove from heat and begin adding the remaining third of finely chopped chocolate or couverture callets. Stir constantly to help it dissolve and bring down the temperature.
- Step 3: Monitor the final working temperature - Use a thermometer to ensure the chocolate cools to its correct finishing temperature. Stir until smooth and glossy with no unmelted pieces remaining.
- Step 4: Use or store - Once tempered, use the chocolate immediately for dipping, molding, or coating. If the temperature drops too much, gently warm it in small increments without exceeding the upper limit.
If you are learning how to temper couverture chocolate at home or in a small kitchen, the seeding method is an excellent starting point. It provides a balance of control and simplicity that makes it ideal for everything from truffles to chocolate bark.

The Tabling Method: Hands-On Artistry
The tabling method is a traditional and visually impressive way to temper chocolate. Often used by professional chocolatiers, this technique involves manually manipulating melted chocolate on a cool marble or granite surface to form stable crystals. While it requires more physical work than other approaches, it offers immediate visual feedback and allows for great control over texture and shine.
This method works best in kitchens with large marble countertops or stone slabs that remain cool throughout the process. It is ideal for large batches where speed and consistency are important. Once mastered, the tabling method becomes a rewarding ritual that adds a personal touch to every chocolate creation.
Here is how to temper chocolate using the tabling method:
- Step 1: Melt all of your couverture chocolate - Use a double boiler to gently melt the chocolate until it reaches its full melting temperature. Stir continuously to avoid burning.
- Step 2: Pour two-thirds onto the marble slab - Spread the chocolate out with a wide spatula or scraper. Work it back and forth in sweeping motions to cool it evenly.
- Step 3: Check the temperature - As you move the chocolate around, test it with a thermometer until it reaches the appropriate finishing temperature.
- Step 4: Return the cooled chocolate to the bowl - Combine the cooled chocolate on the slab with the remaining melted chocolate in the bowl. Stir well to unify the temperature and crystal structure.
When you understand how to temper couverture chocolate using the tabling method, you also begin to appreciate chocolate as a material with personality. This method is both art and technique, rewarding those who are willing to get their hands involved in the process.
Microwave or Direct Heat: Modern Minimalist Approach
Not every kitchen has a marble slab or the space for traditional tempering techniques. That is where the microwave or direct heat method comes in. This approach is perfect for home bakers or professionals working with small batches. It saves time and requires very little equipment while still producing excellent results when done carefully.
With this method, you gently melt couverture chocolate in a microwave-safe bowl or over a very low direct heat source. The key is to use short heating intervals and monitor the temperature closely. Unlike the seeding or tabling methods, this approach does not involve adding or removing chocolate during the process. Instead, it relies entirely on temperature control and timing.

Here is how to temper chocolate using microwave or direct heat:
- Step 1: Finely chop the couverture chocolate - Use even-sized pieces to ensure smooth melting. Place them in a clean, dry, microwave-safe bowl.
- Step 2: Heat in short bursts - Microwave on medium or low power for 15 to 20 seconds at a time. Stir well between intervals to distribute the heat evenly.
- Step 3: Monitor the temperature carefully - Stop heating when the chocolate reaches just below the melting point. Continue stirring until it reaches the correct finishing temperature.
- Step 4: Use immediately or keep warm - Once tempered, use the chocolate right away. If needed, place the bowl over warm water for brief moments to maintain the working temperature.
Those learning how to temper couverture chocolate often find this method convenient and accessible. It works especially well for quick projects like drizzling over desserts or making a small batch of truffles. With attention to detail and the right tools, even a microwave can help you produce beautifully tempered chocolate.
Tempering Temperature Chart
Precision is one of the most important factors when working with chocolate. Even a small variation in temperature can make the difference between a smooth, glossy finish and a dull, streaky surface. Each type of couverture chocolate has a unique melting point and finishing temperature. Knowing these values helps ensure that your chocolate sets with the right structure and shine.
This temperature chart gives you a quick reference for the most common types of couverture chocolate. Use it while practicing each method so you can stay within the optimal temperature range.
| Chocolate Type | Melting Temperature | Finishing Temperature |
|---|---|---|
| Dark Chocolate | 40°C | 31°C to 32°C |
| Milk Chocolate | 40°C | 30°C to 31°C |
| White Chocolate | 40°C | 29°C to 30°C |
Always use a digital or infrared thermometer to track the chocolate temperature at each stage. Avoid estimating by sight or feel, as chocolate can be very sensitive to heat changes. Stirring continuously also helps maintain an even temperature throughout the bowl.
When learning how to temper couverture chocolate, referring to a temperature chart like this can make the process more predictable. It gives you confidence that you are working within the right range and allows for better results, especially when creating bonbons, bars, or dipped treats.
Chef’s Corner: Mistakes and Fixes
Even with the right tools and knowledge, chocolate tempering can go off track. Small errors in temperature, handling, or timing can lead to streaks, lumps, or dull results. The good news is that most of these mistakes are easy to identify and fix with the right approach. Learning how to temper couverture chocolate also means learning how to troubleshoot and adjust when things do not go as planned.
Here are some of the most common mistakes and how to correct them:
- Overheating the chocolate - If chocolate is heated beyond its recommended melting temperature, it can burn or separate. Always heat gently and check the temperature often.
- Introducing moisture into the bowl - Even a drop of water can cause chocolate to seize into a thick paste. Make sure all utensils and bowls are completely dry before use.
- Skipping the cool-down stage - If you skip cooling or rush the process, the right crystals will not form. Follow the cooling step carefully before reaching the finishing temperature.
- Stirring too little or too much - Proper stirring ensures even heat distribution and crystal development. Stir steadily but gently throughout the process.
- Reheating too quickly - If your tempered chocolate cools too much, do not place it back on high heat. Warm it slowly in short intervals to stay within the working range.
Understanding how to temper couverture chocolate means becoming aware of how it behaves under different conditions. Each batch teaches you something new. The more you work with it, the more familiar these signs and solutions will become, allowing you to recover quickly and keep your chocolate work on track.
Practice and Patience: Document Your Tempering Journey
Tempering chocolate is not just a skill. It is a craft that improves with repetition and careful observation. While a single success is encouraging, long-term consistency comes from knowing what works in your kitchen, with your tools, and with your chocolate. That is why documenting your process is one of the most effective ways to become more confident and precise over time.
Every time you temper chocolate, take a few minutes to record what you did. Note the temperature of your kitchen, the brand and type of couverture chocolate, the method you used, and how long each step took. Track your thermometer readings at every stage. Write down whether the final result was glossy, dull, firm, or soft. This kind of record helps you identify patterns and fine-tune your technique.
Here are some tips to help you build a useful chocolate tempering journal:
- Keep a small notebook near your workspace - Record temperature, humidity, chocolate type, and method for each batch.
- Use checklists for each method - Create reusable lists that guide you through the seeding, tabling, or microwave steps.
- Photograph your results - Take photos of both successes and mistakes so you can compare and learn visually.
- Reflect on each attempt - Write a quick note about what worked well and what needs improvement.
When you are learning how to temper couverture chocolate, progress is not always linear. There will be moments of frustration, but each one teaches you more than a perfect batch. Over time, your notes and experience become the foundation for confidence and mastery in working with chocolate.
FAQ: Quick Fixes and Pro Advice
Tempering chocolate can raise many questions, especially when you are just starting out. Having clarity on the most common challenges makes it easier to troubleshoot and perfect your process. Below are answers to some of the most frequently asked questions about chocolate tempering, including tips to guide you toward more consistent results.
- Why do you need a checklist for each method?
A checklist helps you follow each tempering method with confidence. It ensures that you do not miss critical steps like checking the right temperature or stirring consistently. When you use a checklist regularly, it also helps you identify patterns in what works best in your kitchen. - How to fix overheating the chocolate?
If your chocolate overheats but has not burned, let it cool naturally until it reaches the right temperature range. You can also add small pieces of unmelted tempered chocolate to bring down the temperature and encourage the formation of stable crystals. If it has burned, you will need to start over with a fresh batch. - How do I know which chocolate tempering method is best for me?
Choose a method based on your equipment, batch size, and level of experience. Seeding is best for beginners using small amounts. Tabling is suited for professionals working with large quantities. The microwave method is ideal for quick tasks and home kitchens. - What is the difference between fat bloom and sugar bloom?
Fat bloom appears as grayish or white streaks caused by cocoa butter moving to the surface. Sugar bloom has a rough, grainy texture and happens when moisture causes sugar to rise and crystallize on the surface. Both affect appearance but are safe to eat. - Can I re-temper chocolate that has bloomed?
Yes. If the chocolate has not absorbed moisture, you can re-melt and temper it again using any method. - What happens if I add water or steam touches the chocolate?
Even a small amount of water can cause chocolate to seize and become thick and grainy. Always keep tools and bowls dry. - Do I need a thermometer every time?
For consistent results, yes. Visual cues alone are not reliable. A thermometer helps you stay within precise temperature ranges. - How long does tempered chocolate stay in temper?
If kept at the correct working temperature and stirred gently, tempered chocolate can stay usable for 30 to 60 minutes. - Can I temper compound chocolate using these methods?
No. Compound chocolate does not contain cocoa butter and does not require tempering. It behaves differently and melts at lower temperatures. - What kind of bowl should I use for tempering?
Use a stainless steel or glass bowl. Avoid plastic, as it can retain moisture and affect temperature control. - Can I temper chocolate over a gas stove directly?
It is not recommended. Use a double boiler or microwave. Direct heat gives uneven results and risks burning the chocolate. - Why is my chocolate setting too fast or too slow?
Room temperature and humidity affect setting time. If the kitchen is too warm or too humid, chocolate may not set properly. - How should I store tempered chocolate?
Keep it in a cool, dry place away from direct light and strong odors. Avoid refrigerating unless necessary, as condensation can cause sugar bloom. - What should I do if my tempered chocolate becomes thick during use?
Gently warm the chocolate in short intervals and stir to bring it back to the working temperature. Do not overheat. - Can I freeze chocolate molds after filling them?
Quick chilling in the freezer for a few minutes is fine, but long-term freezing can cause bloom when the chocolate returns to room temperature.
When exploring how to temper couverture chocolate, these questions often come up in real kitchens. Over time, the answers become second nature and part of your regular process. Keep this reference handy, and you will find yourself solving problems quickly and confidently.
Conclusion:
Learning how to temper couverture chocolate is more than just mastering a technique. It is about developing an understanding of the chocolate itself, how it behaves, and how it transforms under the right conditions. With the right tools, method, and mindset, you can consistently create glossy, professional-quality chocolate that holds its shape, delivers a satisfying snap, and enhances every dessert it touches. Whether you are using the seeding method, working on a marble slab, or relying on a microwave for small batches, the process becomes smoother with time and repetition. Each tempering session builds your skill and strengthens your confidence in working with one of baking’s most rewarding ingredients.
Of course, the outcome is also influenced by the chocolate you choose. High-quality couverture chocolate is designed for tempering, thanks to its elevated cocoa butter content and superior texture. It gives you more control over fluidity and finish and supports professional results in everything from molded pralines to hand-dipped confections. You can explore a wide selection of premium couverture chocolate to suit your recipes and personal preferences. Whether you need dark, milk, or white varieties, finding the right couverture will elevate your chocolate work to the next level.
If you have questions about tempering, have experienced challenges, or simply want to share your progress, we invite you to leave a comment below. Let us know what worked, what you would like help with, or which method feels most comfortable for you. Your experiences not only support your own learning but also help others in the baking community. Bakerykart welcomes your feedback and encourages everyone to become part of a shared journey toward perfecting the art of tempering.

Related Blog to Follow
Are you still looking for more interesting tips and idea on baking, lovely just follow our blog.
-

04-07-2024
Effortless Baking with Plattered Products
Explore effortless baking with Plattered Products, where gourmet-quality desserts become easy with our delicious mixes.....
View Detail -

04-03-2023
Popular Van Houten Products in India
Discover the popular Van Houten products for all your baking needs. From Dark, Milk Couverture to Dark Chocolate Chips, elevate your baking game with high-quality ingred....
View Detail -

06-06-2023
Baking Brownies: Ingredients, Tools, Recipes & Tips for Success
Discover essential ingredients, tools, mouthwatering recipes, and expert tips for baking delicious brownies that will impress your taste buds.....
View Detail